Capabilities
We are not just a machine shop.
We offer solutions for manufacturing industry problems.
Our manufacturing solutions include -
Reverse engineering and design
Machining parts, assemblies, packages
Manufacturing process support, remote or on-site
Machine programming
Process refinement through application of lean principles
Our in-house machining capability compliments our design and process support as we are able to work in both the consulting role and the actual execution role.
1 Saddle Multitasking CNC Lathe with Sub-Spindle
* Okuma LB3000 EX II MYW
* Max. Turn Diameter Ø13.39 in. Ø340 mm
* Swing Over Saddle Ø18.5 in. Ø470 mm
* Swing Over Bed Ø22.83 in. Ø580 mm
* X-axis Linear Travel 10.24 in. 260 mm
* Y-axis Travel 4.53 (+2.76 / -1.77) 115 (+70 / -45)
* Z-axis Travel (x800) 39.76 in. 1010 mm
* Spindle Speed Range 45-4500rpm
* Sub-Spindle speed range 50-6000rpm
* Main Spindle Power 30HP
* Sub-Spindle Power 15HP
* Live Tooling w/Max 45-6000RPM
* Cylinder & Draw Tube ID Ø2.598 in Ø66 mm
* 10” - 3 Jaw Chuck
* Royal QC-65 Collet Chuck
Turning w/Live Tooling
Okuma L3000M-ex1000
Max Swing Over Bed: Ø20.47"
Max Turn Diameter: Ø11.81"
Z Axis Travel: 41.34"
Spindle Max RPM: 3,800 RPM
Max Barfeed Diameter: Ø2.75
Live Tooling w/ Max RPM: 6,000RPM
Main Spindle Power: 30HP
10” - 3 jaw chuck
Royal QC-65 collet chuck
MT5 Tailstock
Milling
Two Okuma M560V mills
X Axis Travel: 41.34"
Y Axis Travel: 22.05"
Z Axis Travel: 18.11"
Table Size: 51.18 x 22.05
Max Table Load: 1,980 LBS
Spindle Motor: 30 HP
Spindle Speed: 15,000 RPM
Spindle Taper: CAT 40 BIG Plus
Tool Changer: 32 ATC
MP Pump with 1,000 PSI through tool coolant
Tsudakoma RWA-200L rotary unit
Measurement
Calibrated hand tools and standards
We use ATS or the tool manufacturer for calibration
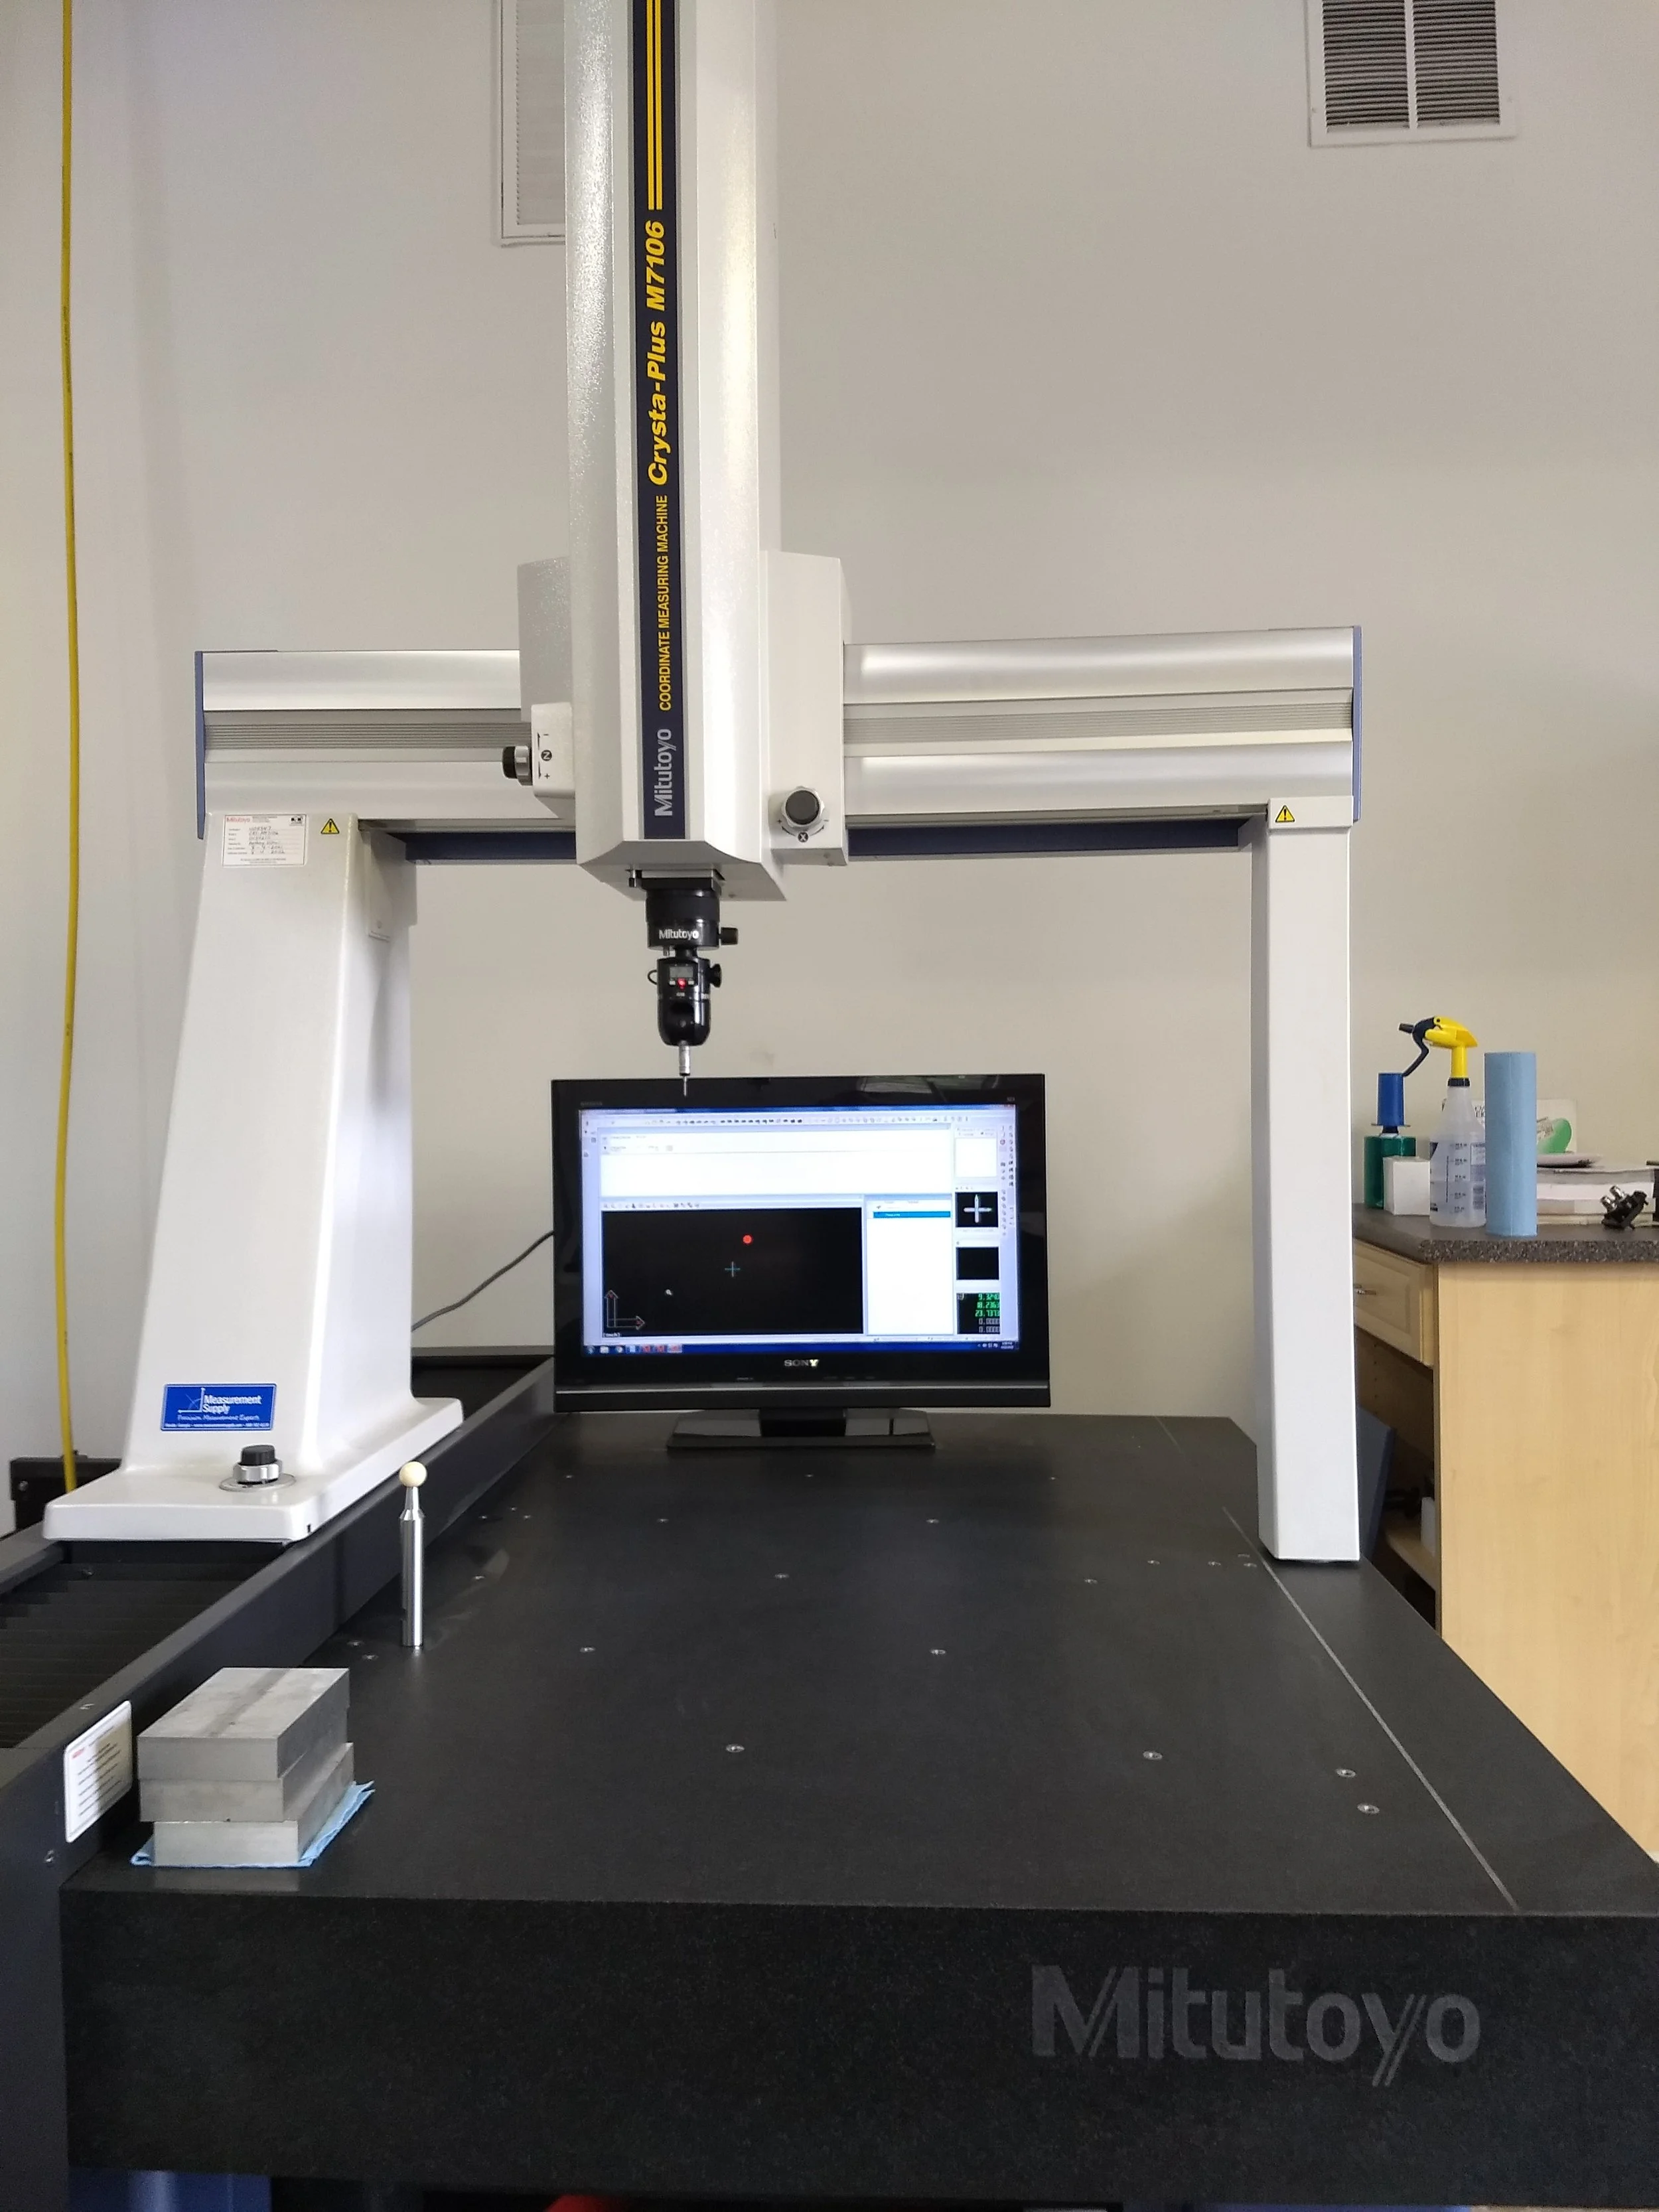
Mitutoyo Crysta-Plus M1706 CMM
Measurement ranges:
X - 27.56” (700mm)
Y - 39.37” (1000mm)
Z - 23.62” (600mm)
MIH wrist with 7.5° articulation in A and B
2D scanning w/ hard probe
Yearly calibration performed by Mitutoyo
Creation of bubble prints and measurement packages possible
Supporting your Industry
We have the ability to design and manufacture tooling to support your operation. We currently supply support tooling and fixtures for industrial product lines as well as defense and aerospace industries.
We can facilitate design and prototyping of parts for product development or reverse engineer existing products.


